How to Measure a Radiator Correctly First Time
Due to their traditional designs, substantial weight, and ornate details, cast iron radiators have unique measuring requirements. Accurate measurements are essential whether you’re restoring a period property with original radiators or adding authentic character to your home. This comprehensive guide focuses specifically on measuring cast iron radiators correctly the first time.
What You’ll Need
- Metal tape measure (for accuracy with the curved surfaces)
- Pen and paper for recording measurements
- Smartphone or camera for reference photos
- Spirit level (to check wall alignment)
- Helper (recommended, as cast iron radiators are complex to measure alone)
- Flashlight (to see details in columns and ornate sections)
- Calipers (optional for precise measurements of connection threads)
Step 1: Prepare the Area
- Clear the space around the radiator completely
- Turn off the heating system and allow the radiator to cool thoroughly
- Remove any radiator covers, screens, or decorative elements
- Clean dust from measurement points for accuracy
- Ensure you have good lighting to see the intricate details and sections
Step 2: Measure the Overall Width
- Measure the entire width from the outer edge of the first column to the outer edge of the last column
- For existing radiators, include any bushings, valves and fittings in separate measurements
- Measure at both the top and bottom, as some cast iron radiators taper slightly
- For column radiators, count the total number of columns or sections
- Note that cast iron radiators are often measured by section count rather than just width
- Record the width of a single section
Step 3: Measure the Height
- Measure from the bottom foot to the top of the radiator at its highest point
- Include any decorative finials or caps in your height measurement
- Exclude any separate wall-mounting brackets from this measurement
- Note the height of any feet or floor clearance
- Measure the actual column height separately from any decorative elements
- For ornate models, record the maximum height at the highest decorative point
Step 4: Measure the Depth
- Measure from the wall to the front of the radiator at its deepest point
- Cast iron radiators often have significant depth due to their column design
- Measure from the back of the feet to the front of the columns
- Note the wall clearance required at the back
- For column radiators, measure the depth of a single column
- Record the full projection, including any decorative elements or valve clearances
Step 5: Note Pipe Positions and Connections
- Measure from the floor to the centre of each pipe connection
- Cast iron radiators typically have connections at the bottom on opposing ends
- Identify the thread size and type (usually BSP threads in the UK)
- Note whether the existing connections are on the same side or opposite sides
- Measure the distance between the inlet and outlet if on the same side

Step 6: Identify the Cast Iron Radiator Style
Note whether it’s:
- Column radiator (4-column, 6-column, etc.)
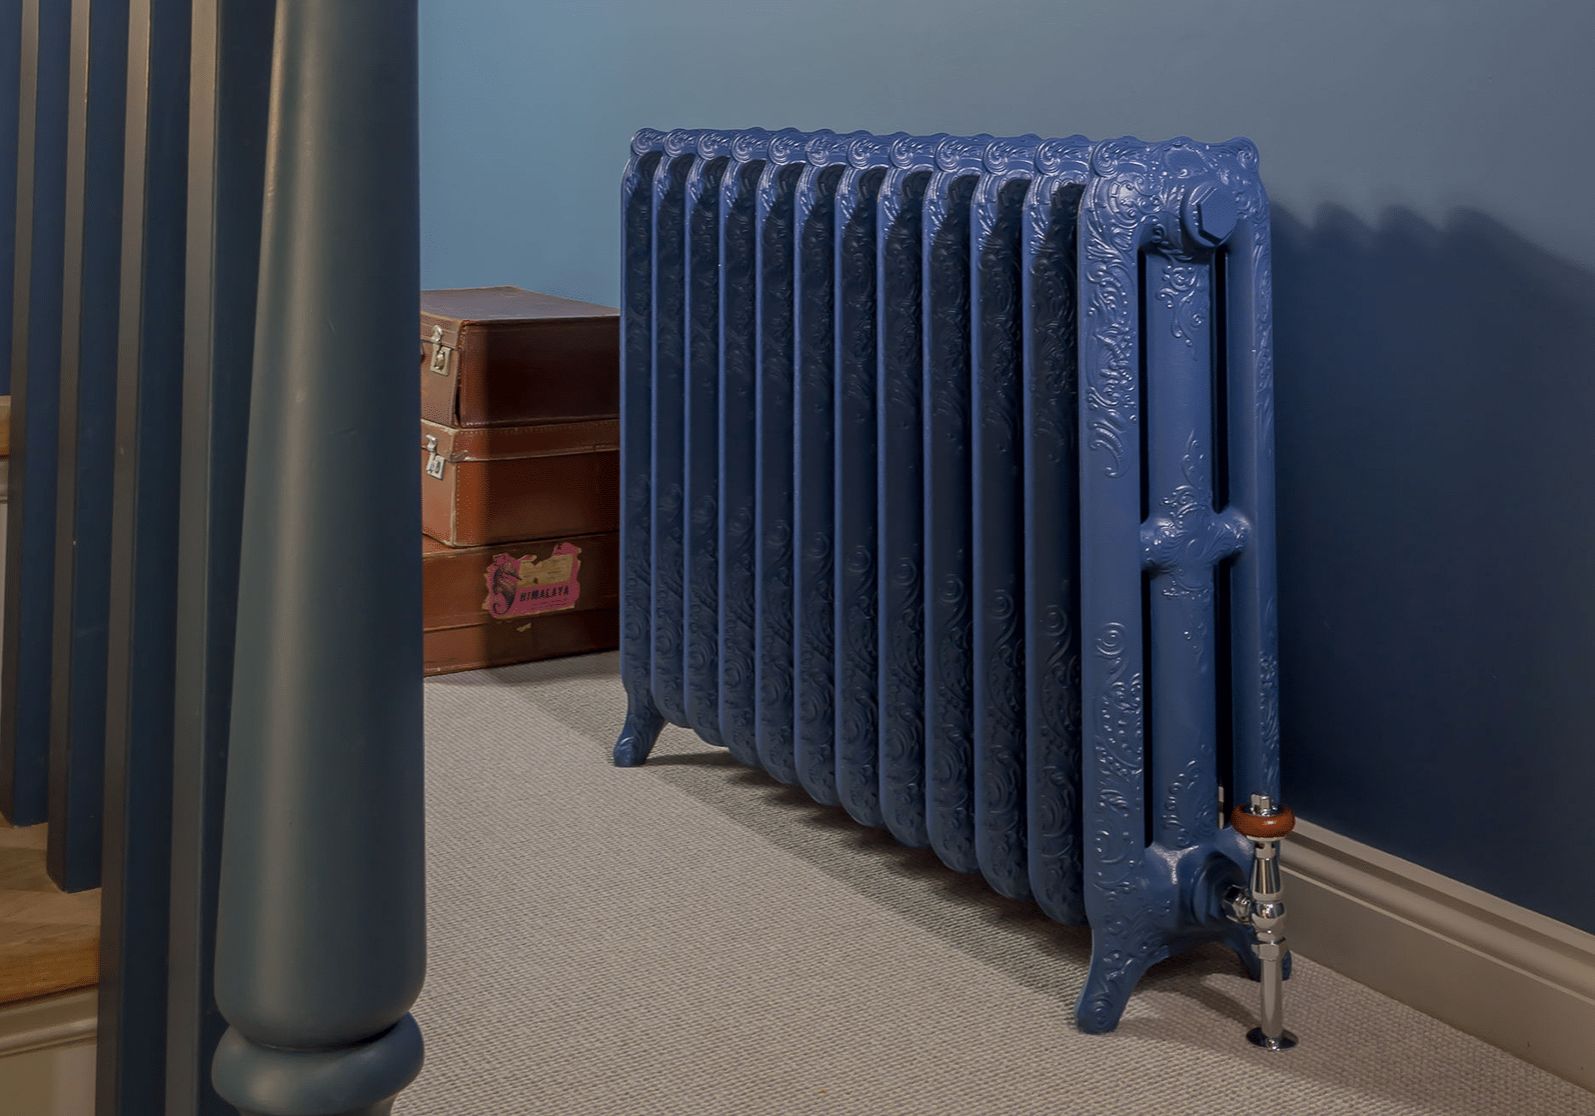
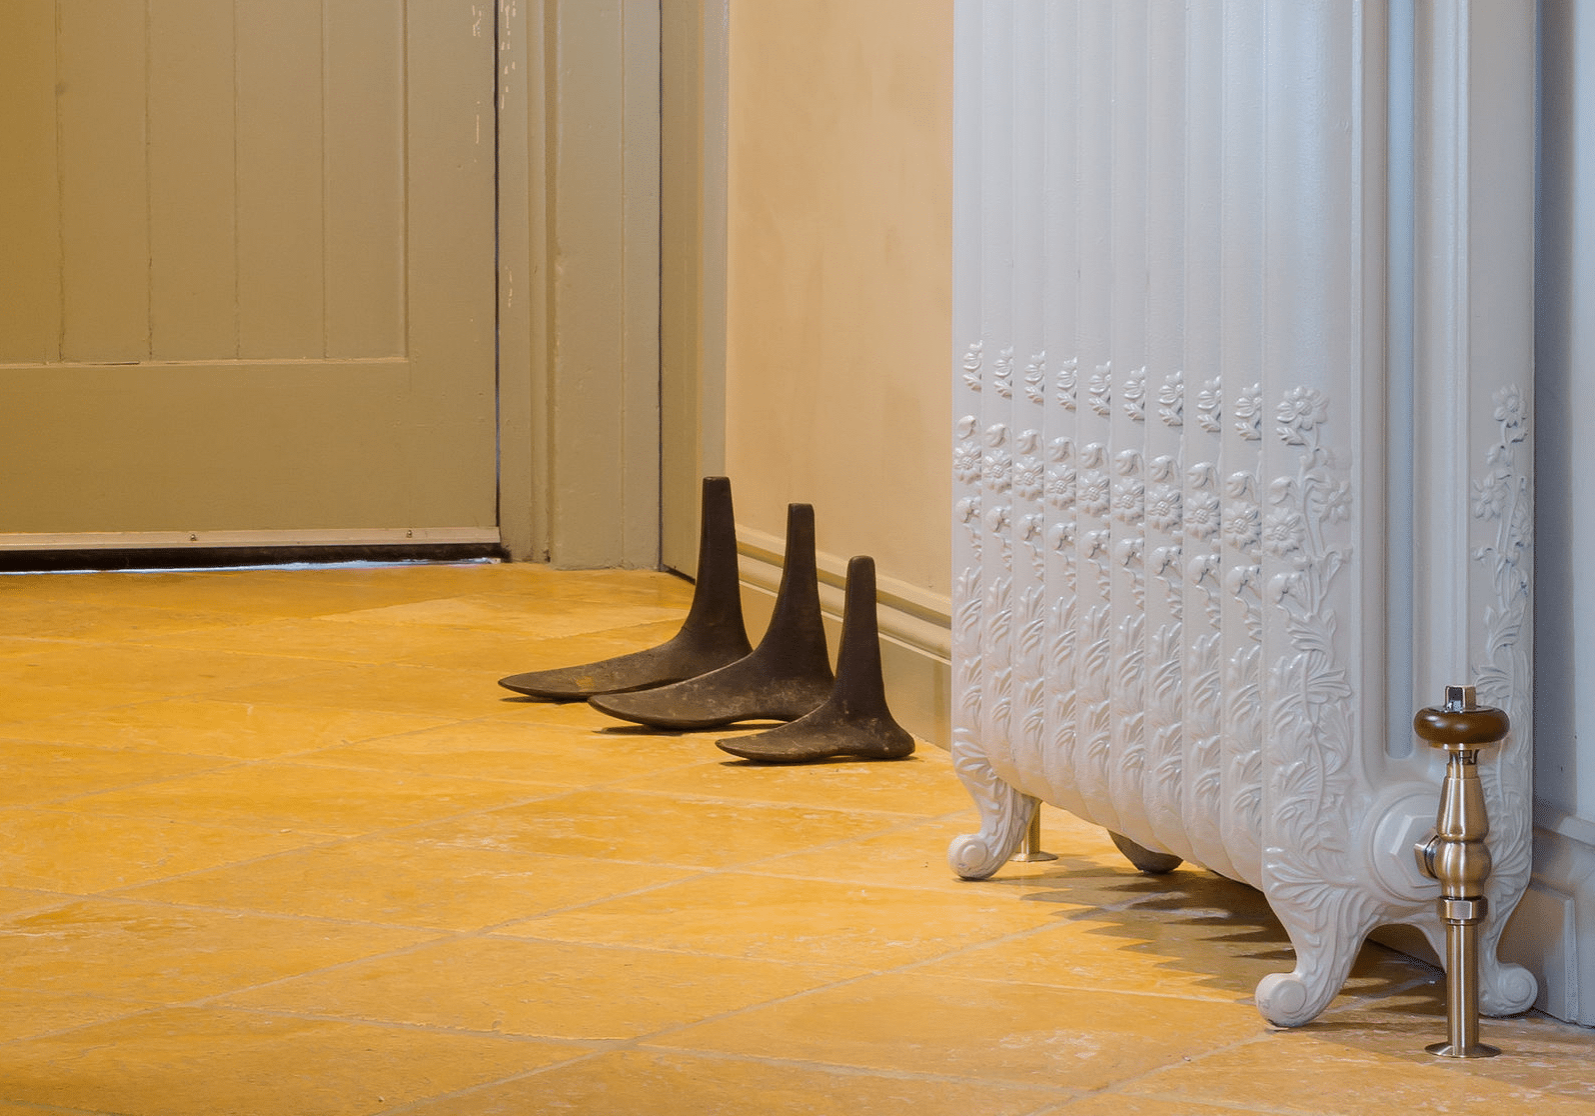
- Victorian style (ornate with decorative relief)
- Princess style (more simple columns)
- Hospital style (plain with smooth columns)
- School radiator (typically taller with plain design)
- French or Italian design (often more decorative)
- Record any decorative patterns, motifs, or embellishments
Step 7: Examine and Record Structural Details
- Check for manufacturer’s marks or stamps (often on end sections)
- Note the thickness and pattern of the columns
- Measure the distance between columns
- Examine how the sections are joined (usually with nipples)
- Note the condition of any threaded connections
- Check for signs of previous repairs or modifications
- Identify if it’s an original period radiator or a reproduction
Step 8: Check Wall Space and Floor Support
- Measure the available wall space where the radiator will be installed
- Note the floor construction – cast iron radiators are extremely heavy
- Check if floor reinforcement may be needed for new installations
- Ensure wall brackets are appropriate for the weight (if wall-mounted)
- Allow clearance for pipework and valves (typically 100-150mm on either side)
- Consider the radiator’s weight when filled with water (often over 100kg)
- Check if the floor is level where the radiator will stand
Step 9: Record Heat Output Requirements
- Note the BTU/heat output of the existing radiator if replacing
- Consider whether the previous radiator adequately heated the room
- Measure the room dimensions for BTU calculations
- Remember that cast iron radiators heat differently than modern ones (slower to heat but retain heat longer)
- Consider the thermal mass benefit of cast iron in the overall heating strategy
Step 10: Document Everything
- Draw a detailed diagram with all measurements clearly labelled
- Take multiple photos of the existing radiator from different angles
- Capture close-ups of any decorative details or unusual features
- Note any specific patina or finish you wish to preserve or match
- Record the approximate age of the radiator if known
- Document any existing valve types (often traditional wheel head or ornate valves)
Tips for Perfect Accuracy with Cast Iron Radiators
- Always measure section by section for column radiators
- Remember that cast iron radiators can be reconfigured by adding or removing sections
- Use millimetres for precision when measuring ornate details
- Consider the weight – typical cast iron radiators weigh 30-35kg per section when filled
- Allow for appropriate pipe clearances – traditional pipework for cast iron is usually exposed
- Check for warping or leaning that may affect measurements
- Consider whether the radiator will be freestanding or wall-mounted
- Verify the condition of threads and connections before ordering parts
Common Cast Iron Radiator Measurement Mistakes
- Forgetting to count the sections properly
- Not accounting for the substantial weight when planning installation
- Neglecting to check thread compatibility with modern valves
- Assuming all sections are identical in size (especially in antique radiators)
- Not considering the expansion of cast iron when hot
- Overlooking the need for special valve adaptors for older thread patterns
- Failing to account for the deep projection from walls
- Not checking for previous repairs that might affect measurements
Final Cast Iron Radiator Checklist
- Width (overall and per section)
- Total number of sections
- Height (including and excluding decorative elements)
- Depth and projection from the wall
- Pipe connection positions and thread sizes
- Style and design features
- Weight and structural support requirements
- Heat output needs
- Valve Compatibility
- Age and authenticity considerations
- Finish and patina details
- Any special features or requirements
Measuring your cast iron radiator comprehensively will ensure you can properly restore, replace, or add to your heating system while preserving the authentic character and functionality these classic fixtures provide. Their substantial weight, unique connections, and section-based construction require special attention that differs from measuring modern panel radiators.
“I want to say thanks and how fantastic the radiators look along with the cast quality and the excellent painting and polishing finish. I now can’t wait to get them installed! Many thanks again for all your help and assistance.”
“Thank you for all your help, we will definitely recommend Paladin to anyone we know who is looking for cast iron radiators and will get in touch when we’re needing radiators for our ground floor.”
